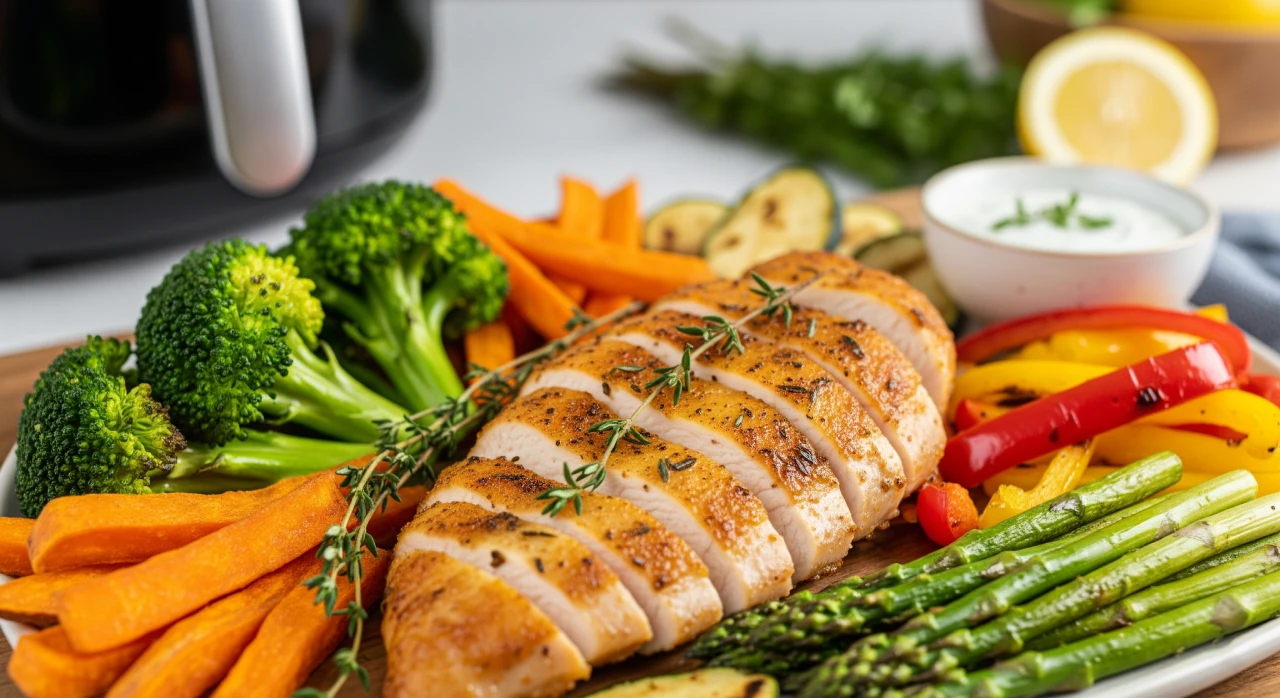
As someone who’s been experimenting with air fryer cooking for years, I can tell you that mastering chicken breast in air fryer cooking has completely transformed my weeknight dinners. There’s nothing quite like biting into a perfectly cooked piece of chicken that’s juicy on the inside and beautifully golden on the outside, all achieved in less time than it takes to preheat a traditional oven.
When I first started using my air fryer, I’ll admit I was intimidated by cooking chicken breast. The fear of ending up with dry, overcooked meat kept me sticking to safer options like frozen fries and vegetables. But once I learned the proper timing and techniques, chicken breast in air fryer became one of my go-to meals for busy weeknights and meal prep sessions alike.
Why Air Fryer Chicken Breast is a Game-Changer
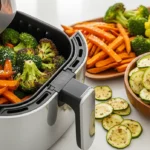
Let me paint you a picture of why cooking chicken breast in air fryer has become such a popular method among home cooks. The air fryer uses rapid air circulation technology to cook food evenly while creating that coveted crispy exterior we all love. Unlike traditional oven cooking, which can take 25-30 minutes, your air fryer can deliver perfectly cooked chicken in just 12-15 minutes.
The beauty of this cooking method lies in how it locks in moisture while still achieving that satisfying texture contrast. When you cook chicken breast in air fryer, the hot air circulation creates a seal on the outside of the meat almost immediately, preventing the natural juices from escaping. This means you get tender, succulent chicken every single time, without the guesswork that often comes with stovetop or oven methods.
The Perfect Timing for Chicken Breast in Air Fryer
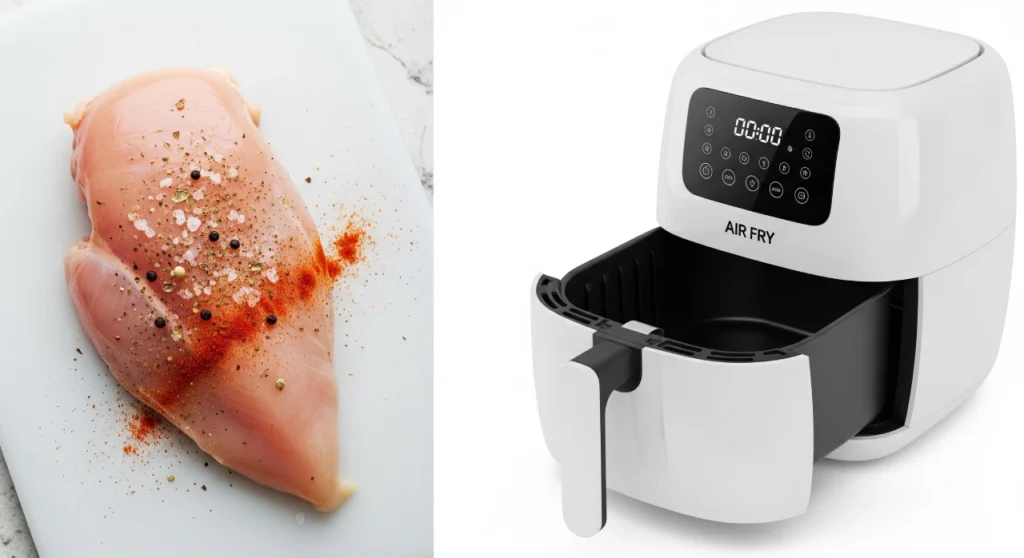
Here’s what you’ve been waiting for – the exact timing that will give you restaurant-quality results at home. For standard boneless, skinless chicken breasts weighing between 6-8 ounces, you’ll want to cook them at 375°F for 12-15 minutes, flipping halfway through the cooking process.
However, understanding the nuances of timing is crucial for success. Thinner chicken breasts, those around 4-6 ounces, will cook more quickly and typically need only 10-12 minutes. Larger, thicker breasts that weigh 8-10 ounces may require 15-18 minutes to reach that safe internal temperature of 165°F.
The key to mastering chicken breast in air fryer cooking lies in understanding that thickness matters more than weight. A thin, pounded-out chicken breast will cook much faster than a thick, plump piece, even if they weigh the same. This is why many experienced cooks recommend pounding chicken breasts to an even thickness of about ¾ inch before cooking.
Step-by-Step Guide to Perfect Air Fryer Chicken Breast
Let me walk you through my tried-and-true method for cooking chicken breast in air fryer that delivers consistent results every time. This process has been refined through countless dinners and has never let me down.
Start by removing your chicken breasts from the refrigerator about 15-20 minutes before cooking. This allows the meat to come closer to room temperature, which promotes more even cooking throughout. While the chicken is tempering, preheat your air fryer to 375°F for about 3-5 minutes.
Pat each chicken breast completely dry with paper towels. This step is absolutely crucial because any surface moisture will prevent proper browning and can lead to steaming rather than that beautiful golden crisping we’re after. Once dry, brush each piece lightly with olive oil or spray with cooking spray. The oil helps seasonings adhere and promotes even browning.
Season generously with salt and pepper on both sides, then add any additional seasonings you prefer. I love a simple combination of garlic powder, paprika, and dried herbs, but the beauty of chicken breast in air fryer cooking is that it pairs beautifully with virtually any flavor profile.
Place the seasoned chicken breasts in your air fryer basket, making sure they don’t overlap. Depending on the size of your air fryer, you may need to cook in batches. Cook for 6-7 minutes, then carefully flip each piece using tongs. Continue cooking for another 6-8 minutes, depending on thickness.
Essential Tips for Juicy, Flavorful Results
Through my years of perfecting chicken breast in air fryer techniques, I’ve discovered several game-changing tips that separate good results from absolutely incredible ones. These small details make all the difference between dry, disappointing chicken and the kind that has your family asking for seconds.
Temperature control is your best friend when cooking chicken breast in air fryer. Invest in a good instant-read thermometer and check the thickest part of each breast. You’re looking for an internal temperature of 165°F, but remember that carryover cooking will raise the temperature another 5-10 degrees after removal, so you can actually pull the chicken at 160°F and let it rest.
Marinating your chicken breasts for at least 30 minutes before cooking can dramatically improve both flavor and texture. Even a simple marinade of olive oil, lemon juice, salt, and herbs can transform ordinary chicken into something special. The acid in marinades also helps tenderize the meat, making your final result even more succulent.
Don’t overcrowd your air fryer basket. When pieces touch or overlap, the air circulation is compromised, leading to uneven cooking. It’s better to cook in batches than to risk some pieces being overcooked while others remain underdone.
Common Mistakes to Avoid
Let me share some of the most frequent pitfalls I see when people are learning to cook chicken breast in air fryer, along with how to avoid them. These mistakes can turn what should be a simple, successful cooking method into a frustrating experience.
One of the biggest mistakes is not preheating the air fryer. Just like a traditional oven, your air fryer needs time to reach the proper temperature before you add food. Starting with a cold air fryer will throw off your timing and can result in uneven cooking.
Another common error is flipping the chicken too frequently or too roughly. When cooking chicken breast in air fryer, you should flip only once, and do it gently with tongs to avoid tearing the crispy exterior that’s developing. Constant flipping disrupts the cooking process and can lead to dried-out meat.
Overcooking is perhaps the most heartbreaking mistake because it’s so easily avoided with proper timing and temperature monitoring. Remember that chicken breast is naturally lean, which means it can go from perfectly cooked to overcooked very quickly. Always err on the side of checking a few minutes early rather than risk overcooking.
Seasoning and Marinade Ideas
The versatility of chicken breast in air fryer cooking really shines when it comes to flavor possibilities. Because the cooking method is so straightforward, you can experiment with countless seasoning combinations and marinades without worrying about complicated techniques.
For a Mediterranean-inspired approach, try marinating your chicken in olive oil, lemon juice, dried oregano, minced garlic, and a touch of red pepper flakes for at least an hour before cooking. This combination creates a bright, herbaceous flavor that pairs beautifully with rice pilaf or roasted vegetables.
If you’re craving something with a bit more heat, create a spicy rub using paprika, cumin, chili powder, garlic powder, and cayenne pepper. Mix these dry spices with a small amount of olive oil to create a paste, then rub it all over your chicken breasts before cooking. The air fryer’s intense heat will caramelize these spices beautifully.
For those who love Asian flavors, a soy sauce-based marinade with ginger, garlic, and a touch of honey creates an incredibly savory and slightly sweet result. The sugars in the honey and soy sauce will caramelize during cooking, creating an appetizing golden-brown exterior.
Checking for Doneness and Food Safety
Understanding how to properly check if your chicken breast in air fryer is fully cooked is essential for both food safety and achieving the perfect texture. This knowledge takes the guesswork out of the process and gives you confidence in your cooking.
The most reliable method is using an instant-read thermometer inserted into the thickest part of the chicken breast. You’re looking for an internal temperature of 165°F, which ensures that any harmful bacteria have been eliminated while keeping the meat at peak juiciness.
Visual cues can also help you determine doneness, though they should never replace temperature checking. Properly cooked chicken breast will have clear juices when pierced with a knife, and the meat should no longer be pink in the center. The exterior should be golden brown and feel firm but not hard to the touch.
Another helpful indicator is the texture of the meat itself. When you press gently on the center of the chicken breast, it should feel firm and spring back slightly. If it feels soft and squishy, it needs more time. If it feels very hard and doesn’t give at all, it’s likely overcooked.
Meal Prep and Storage Solutions
One of the greatest advantages of mastering chicken breast in air fryer cooking is how perfectly it fits into a meal prep routine. Properly cooked and stored air fryer chicken breast can be the foundation for countless quick and healthy meals throughout the week.
When meal prepping, I like to cook several chicken breasts at once, then store them whole in the refrigerator for up to four days. This allows me maximum flexibility in how I use them later. I can slice them for salads, cube them for grain bowls, or shred them for sandwiches and wraps.
For longer storage, cooked chicken breast freezes beautifully for up to three months when properly wrapped. I recommend slicing or cubing the chicken before freezing, then storing it in portion-sized containers or freezer bags. This way, you can thaw only what you need for each meal.
When reheating previously cooked chicken breast in air fryer, use a lower temperature around 350°F and heat for just 3-4 minutes. This gentle reheating preserves the texture and prevents the meat from drying out.
Troubleshooting Common Issues
Even with the best intentions and techniques, sometimes things don’t go according to plan when cooking chicken breast in air fryer. Let me address some common issues and their solutions so you can troubleshoot like a pro.
If your chicken breast is coming out dry despite following the timing guidelines, the issue might be with the quality or preparation of the meat itself. Chicken breasts that have been frozen and thawed tend to lose more moisture during cooking. Try brining fresh chicken breasts in salt water for 30 minutes before cooking to help them retain moisture.
Uneven cooking is usually the result of inconsistent thickness or overcrowding. If you’re dealing with naturally thick chicken breasts, consider butterflying them or pounding them to an even thickness. This ensures that every part of the meat cooks at the same rate.
Sometimes chicken breast can look perfectly golden on the outside but still be undercooked in the center. This typically happens when the temperature is too high, causing the exterior to brown too quickly. Try reducing the temperature to 350°F and extending the cooking time slightly.
Creative Serving Suggestions
The beauty of perfectly cooked chicken breast in air fryer lies not just in the cooking technique, but in the countless ways you can serve and enjoy it. This versatile protein becomes the canvas for so many delicious meal possibilities.
For a light and refreshing option, slice your air fryer chicken breast and serve it over mixed greens with cherry tomatoes, cucumber, and a tangy vinaigrette. The contrast between the warm, seasoned chicken and cool, crisp vegetables creates a satisfying and balanced meal.
Transform your chicken into a hearty grain bowl by serving it over quinoa or brown rice with roasted vegetables, avocado slices, and a drizzle of tahini sauce. This combination provides a complete nutritional profile while keeping flavors interesting and varied.
For comfort food lovers, shred your cooked chicken breast and use it in sandwiches, wraps, or even as a topping for loaded sweet potatoes. The tender, flavorful meat pairs beautifully with both fresh and cooked vegetables, making it easy to create satisfying meals that don’t feel heavy.
Conclusion
Mastering the art of cooking chicken breast in air fryer has truly revolutionized my approach to weeknight dinners and meal preparation. The combination of speed, convenience, and consistently delicious results makes this technique an invaluable addition to any home cook’s repertoire.
Remember that the key to success lies in understanding the basics: proper timing, temperature control, and not overcrowding your air fryer basket. With these fundamentals in place, you can confidently experiment with different seasonings, marinades, and serving styles to keep your meals exciting and varied.
The 12-15 minute cooking time at 375°F will become second nature with practice, and soon you’ll be creating restaurant-quality chicken breast in air fryer dishes that your family and friends will rave about. Whether you’re meal prepping for the week ahead or preparing a quick dinner after a busy day, this technique will serve you well in countless kitchen situations.
Trust the process, use a meat thermometer for peace of mind, and don’t be afraid to experiment with flavors. Your perfectly cooked, juicy, and flavorful chicken breast in air fryer awaits!